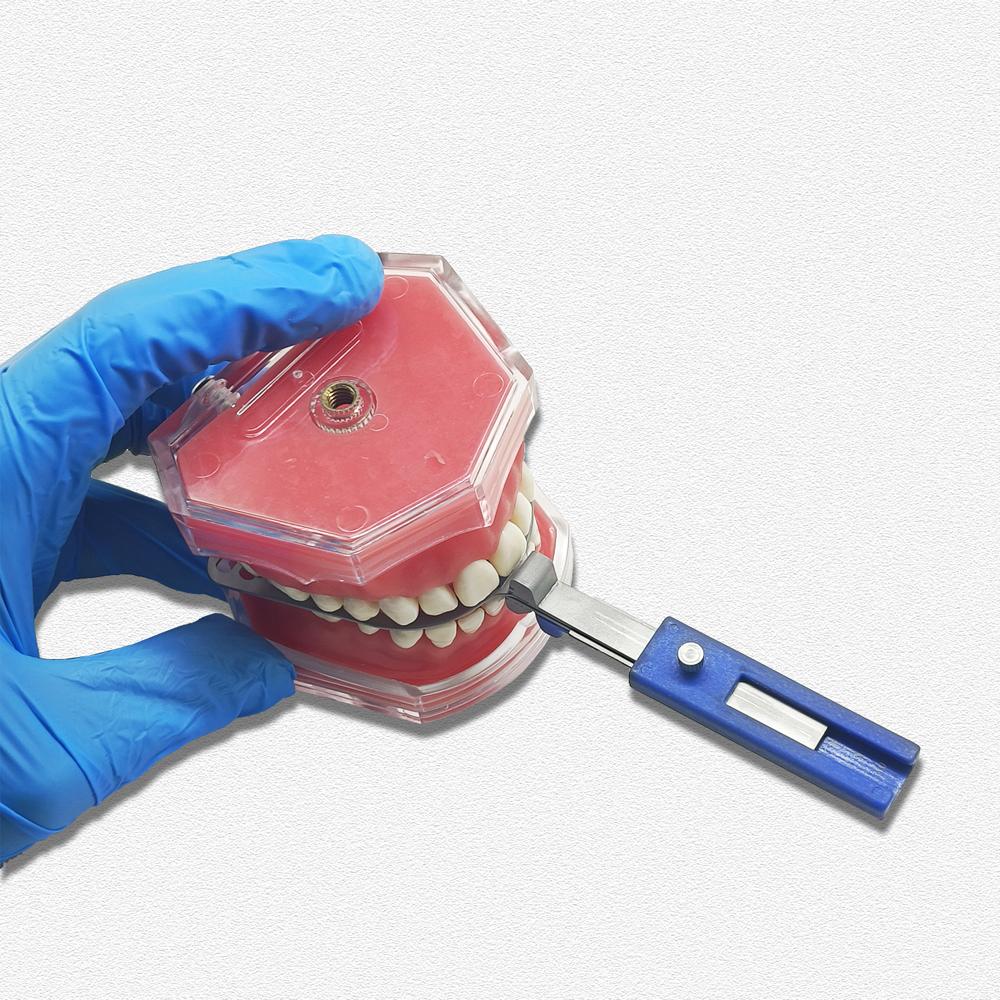
Product Features:
ProGauge for Bite Recording Oral Centric Tray Set Denture Repair Occlusal Record Articulator
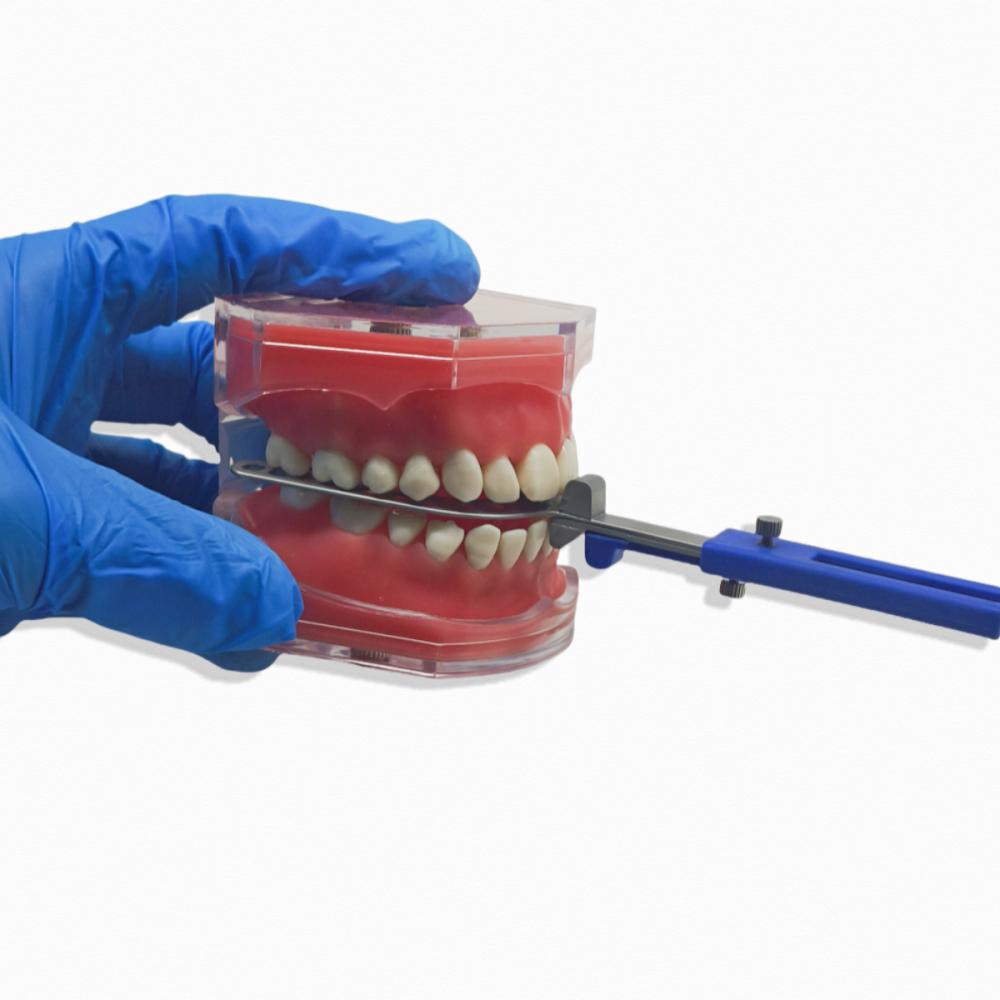
---The ProGauge represents a revolutionary way to ensure a proper hardware placement and vertical
setting of your patient’s appliance.
---The two purposes of the ProGauge are to assist in accurately taking a bite registration and to record
the patient’s range of motion for titration purposes both clinically and in a sleep lab.
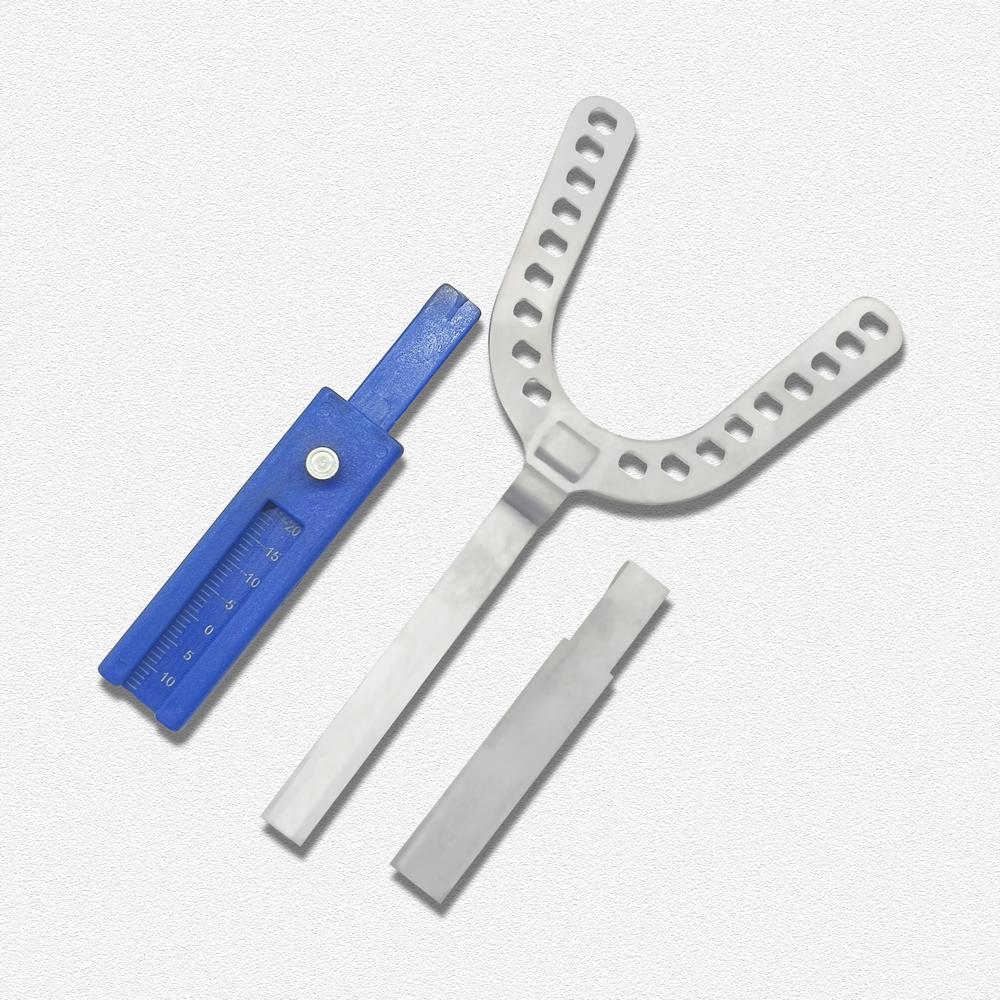
---The ProGauge comes with three different sizes of position sliders to provide the ability for the dentist
to take a bite registration with more precision based on the patient’s needs.
Quantity: 1 set
How to use:
1. Recording Max Retrusion and Protrusion
First use the position slider ,To measure the bite at 3.5 mm, use the upper and have the lower slider against the anteriors
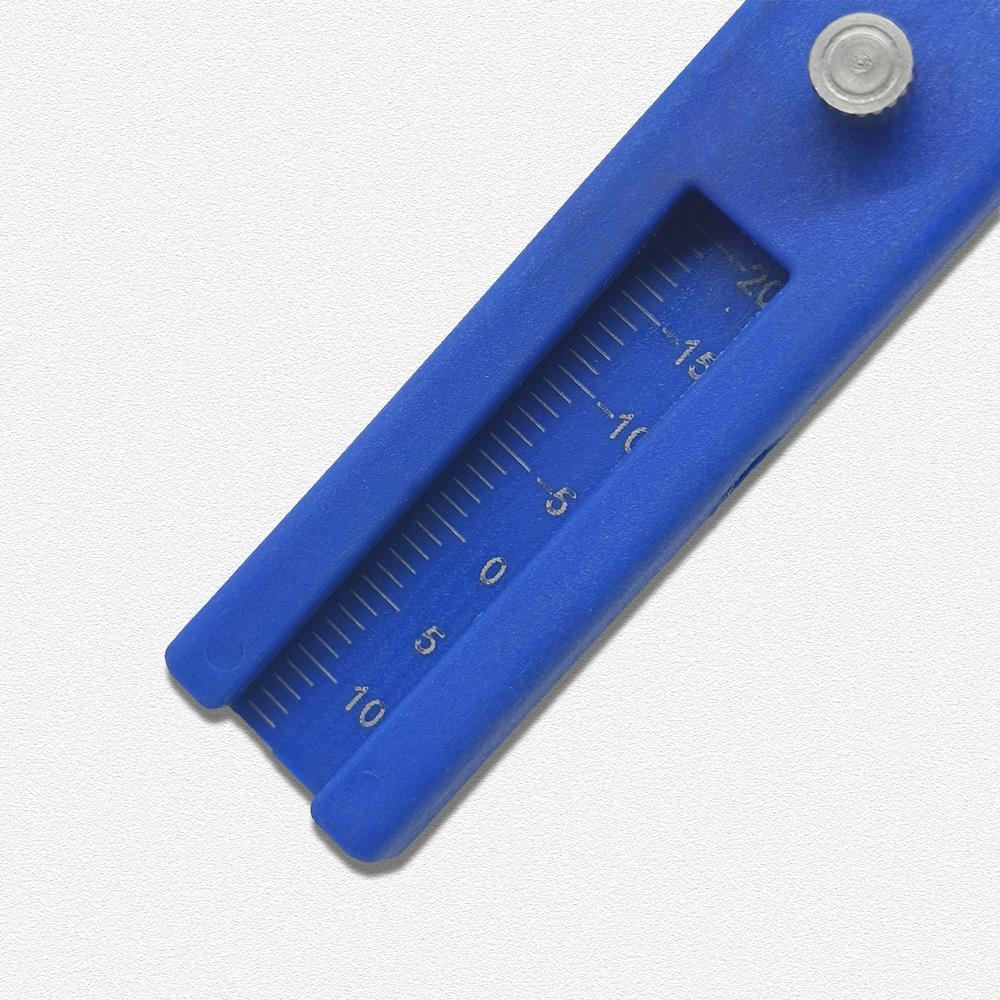
Record Max Protrusion: Instruct the patient to slide the gauge with their teeth into full protrusion. Document the measurement noted on the millimeter scale.
Record Max Retrusion:Instruct the patient to slide the gauge with their teeth into full retrusion. Document the measurement noted on the millimeter scale.
2. Calculate and Set Starting Protrusion
Use the following calculation to determine patient’s protrusive setting.
Full Range:Range between full protrusion and full retrusion Example: If maximum retrusion position is – 5 and the maximum protrusion position is 15, the total range of protrusive movement is 20mm
Determine 60% of Max Protrusion: This is a typical recommended starting point. Example: Using the previous example as a base with a maximum protrusive range of 20, then you would set the bite at 12 mm
Set the Screw: Set the ProGauge to the calculated protrusion setting and tighten the locking screw so that it does not move during the bite registration.
Allow the patient to have the bite fork in his/her mouth with their lips closed to see if any muscles spasms or discomfort are present. Adjust as needed.
3. Record the bite
Material: We recommend ThermAcryl, but you can use any bite registration material.
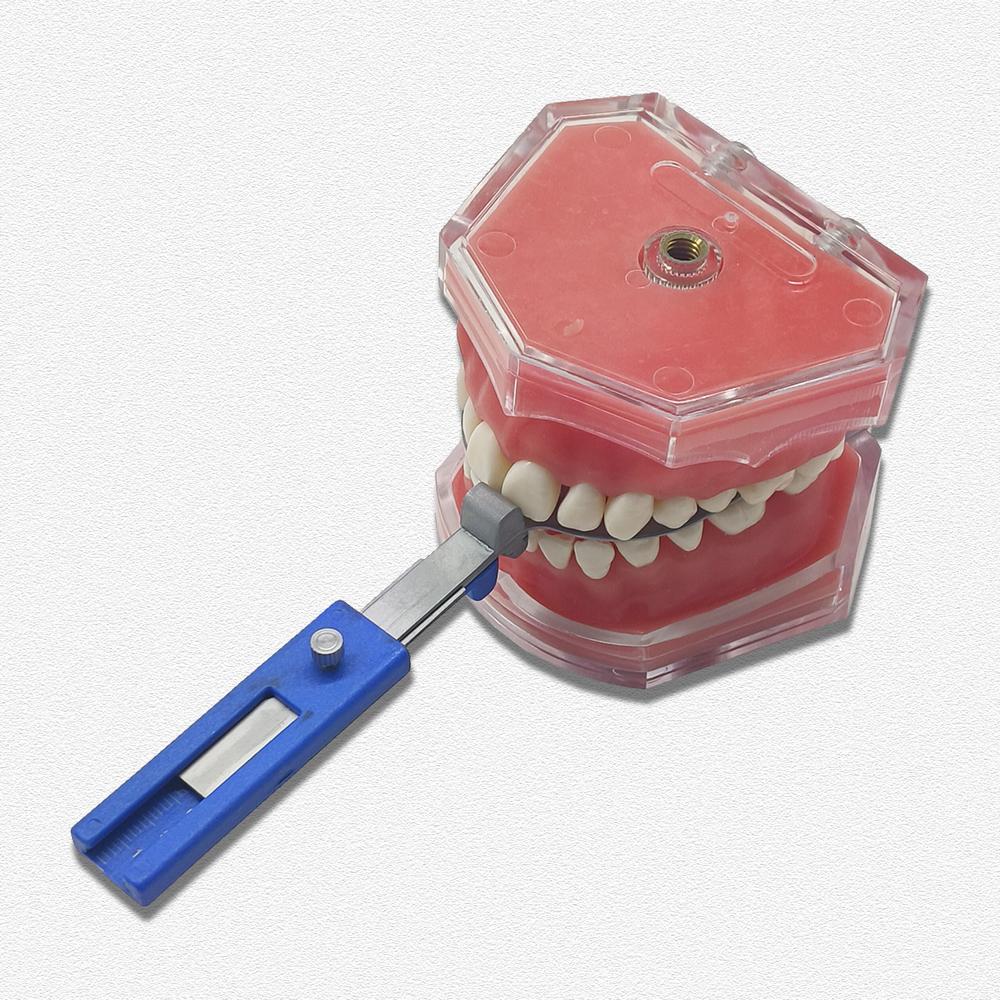
Maxillary First:
Place registration material over the holes on the top of the registration bite fork.
Insert the registration bite fork into the patient’s mouth and align the upper central incisors into the upper incisor notch and register the maxillary teeth.
Allow the registration material to sufficiently harden in the patient’s mouth and then remove the ProGauge.
Maxilla Second:
Place registration material over the holes on the bottom of the registration bite fork.
Insert the registration bite fork into the patient’s mouth and seat on the maxilla. Close the mandible into the registration material, making sure to align the mid-line of the lower center incisors into the lower incisor notch.
Note: Keep the mandibular teeth from shifting side to side. Allow the registration material to sufficiently harden in the patient’s mouth and thenremove the ProGauge.
Send Bite to the Lab:Loosen the locking screw and remove the registration bite fork from the gauge body. Send the construction bite with the registration bite fork and the models to the lab.
The merchant warrants that their products comply with all applicable laws, and are offered only if they comply with Joom’s policies and EU Product Safety and Compliance laws.